

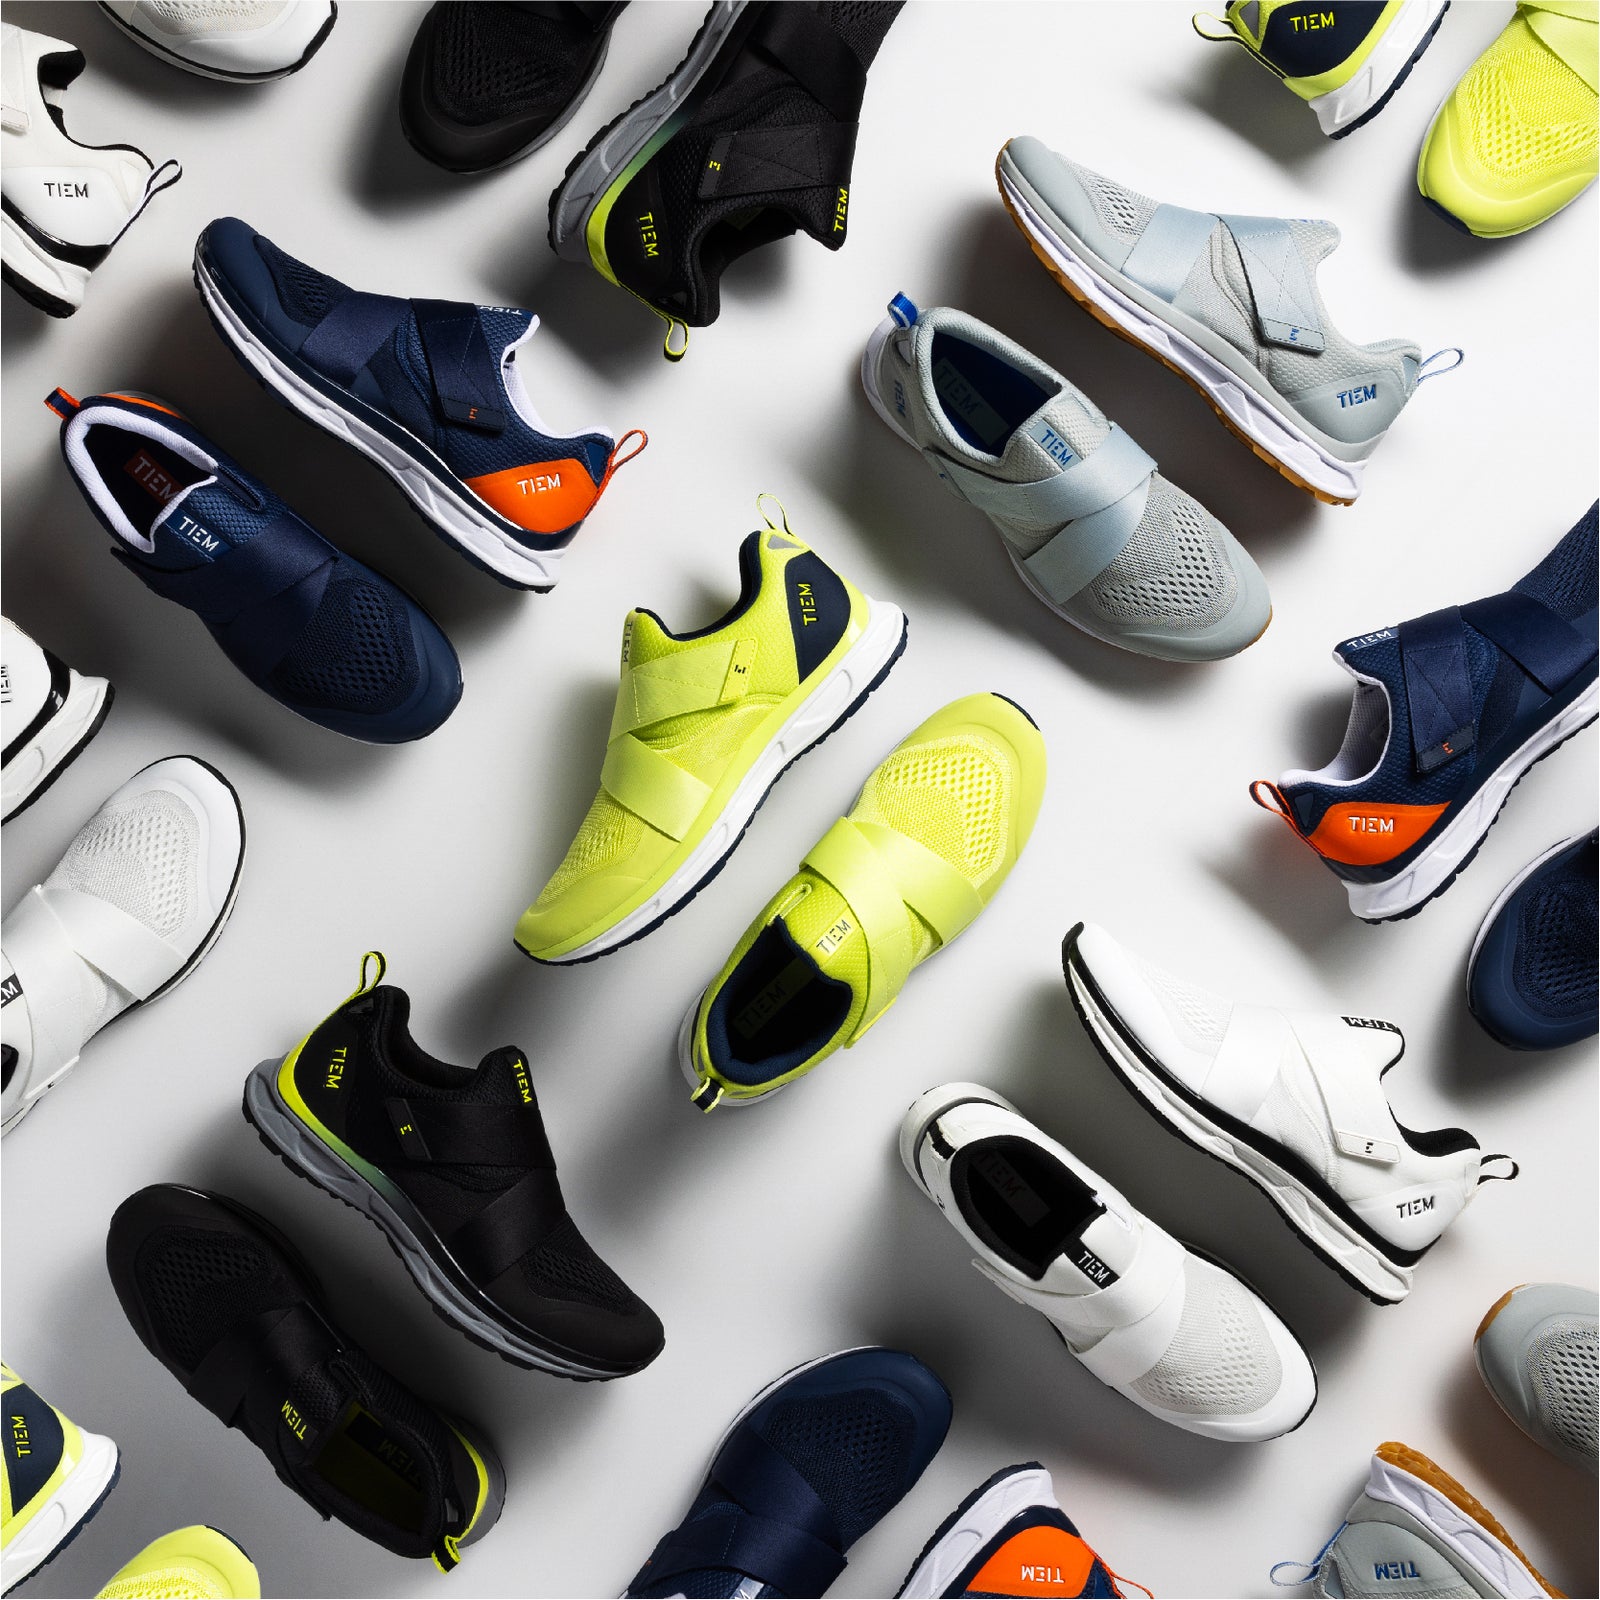

Exclusive colors in men's sizes 8 thru 13 (US)

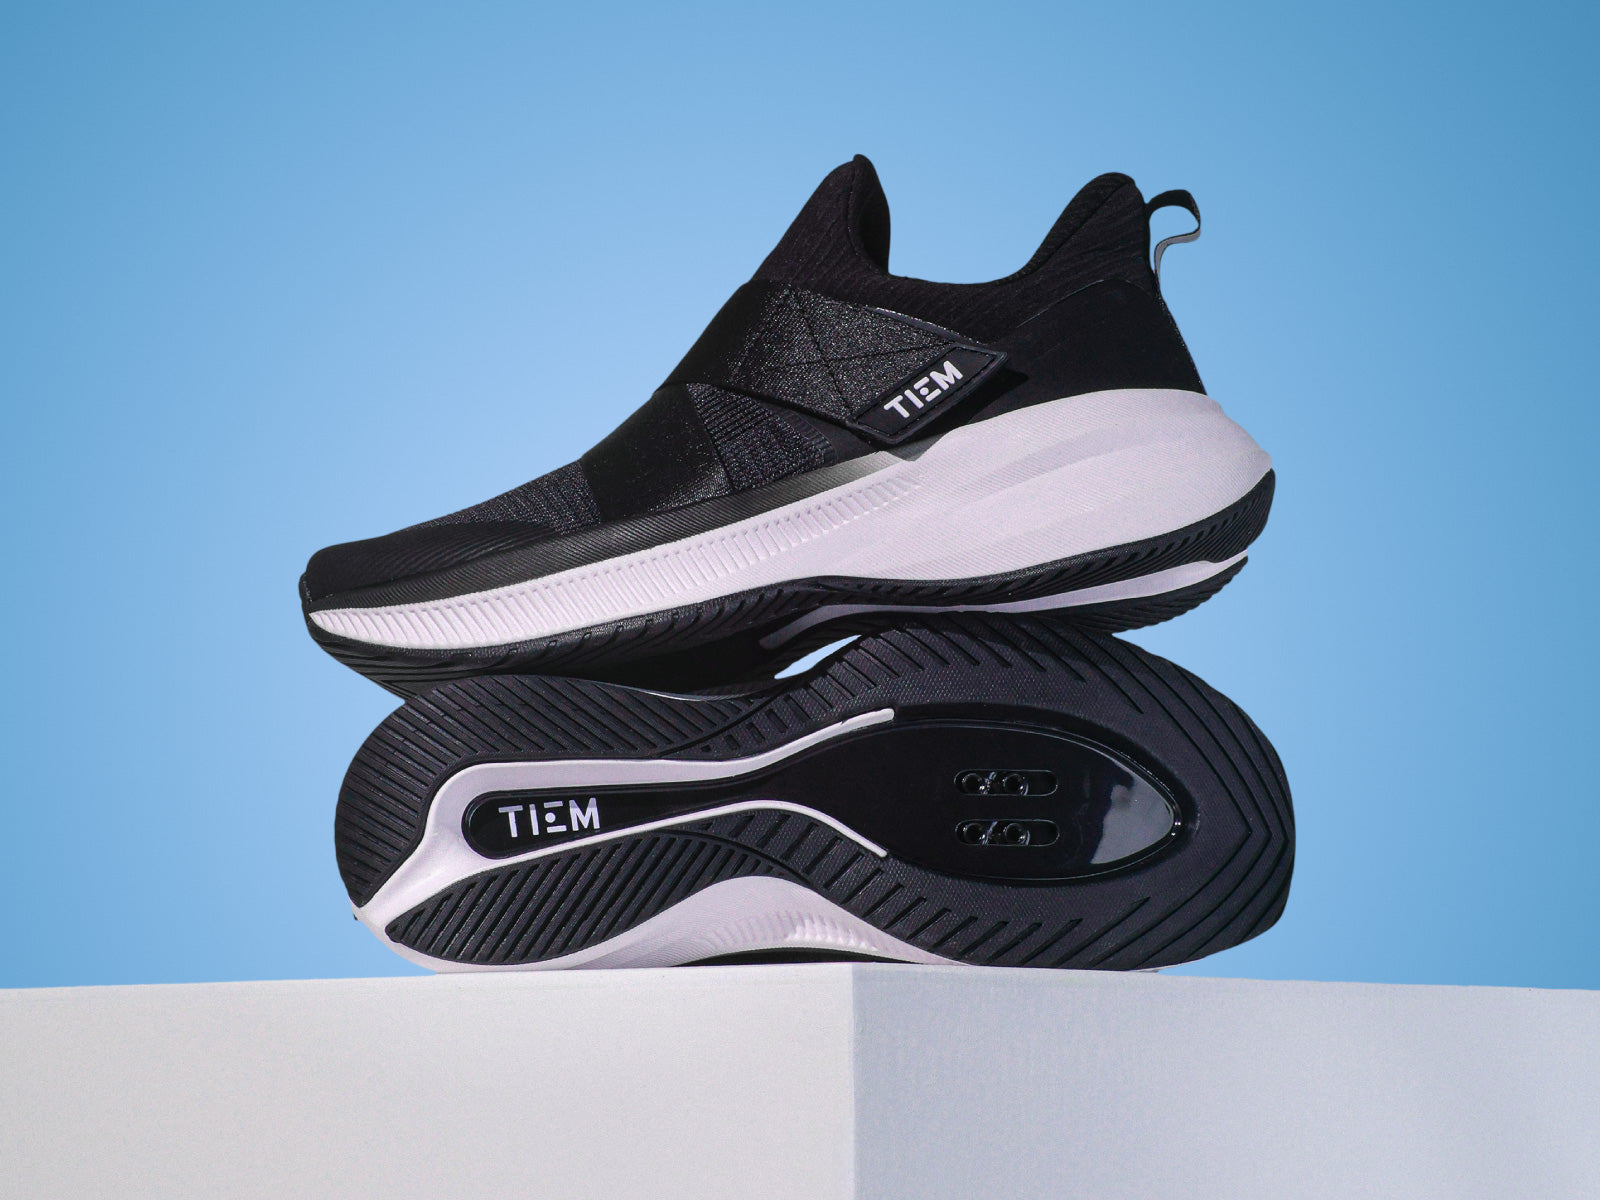
Clean and classic

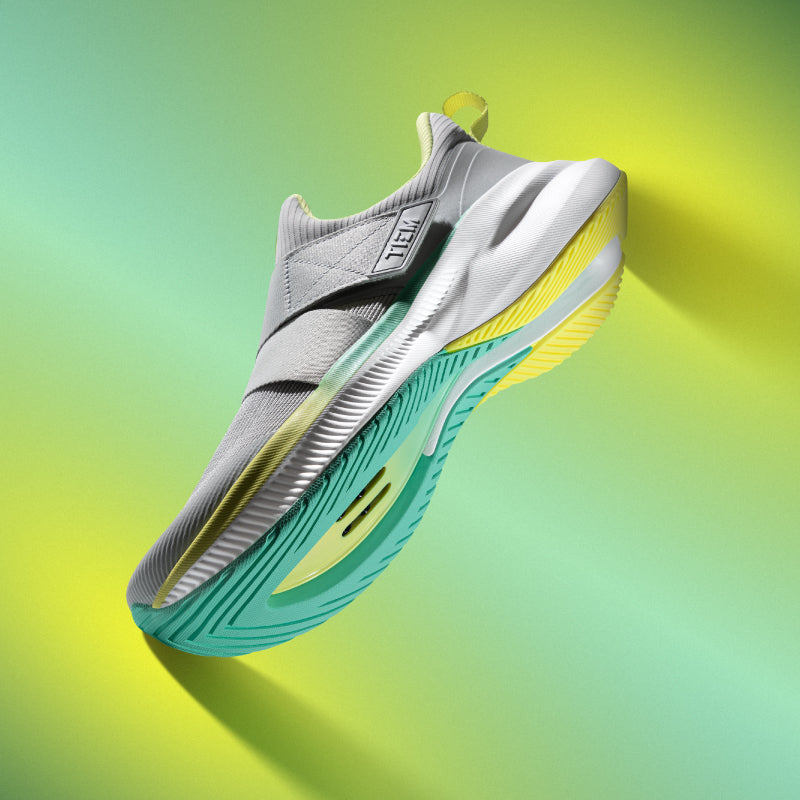
Amp up your look in this bold new colorway
An array of tops to pair with your favorite shoes
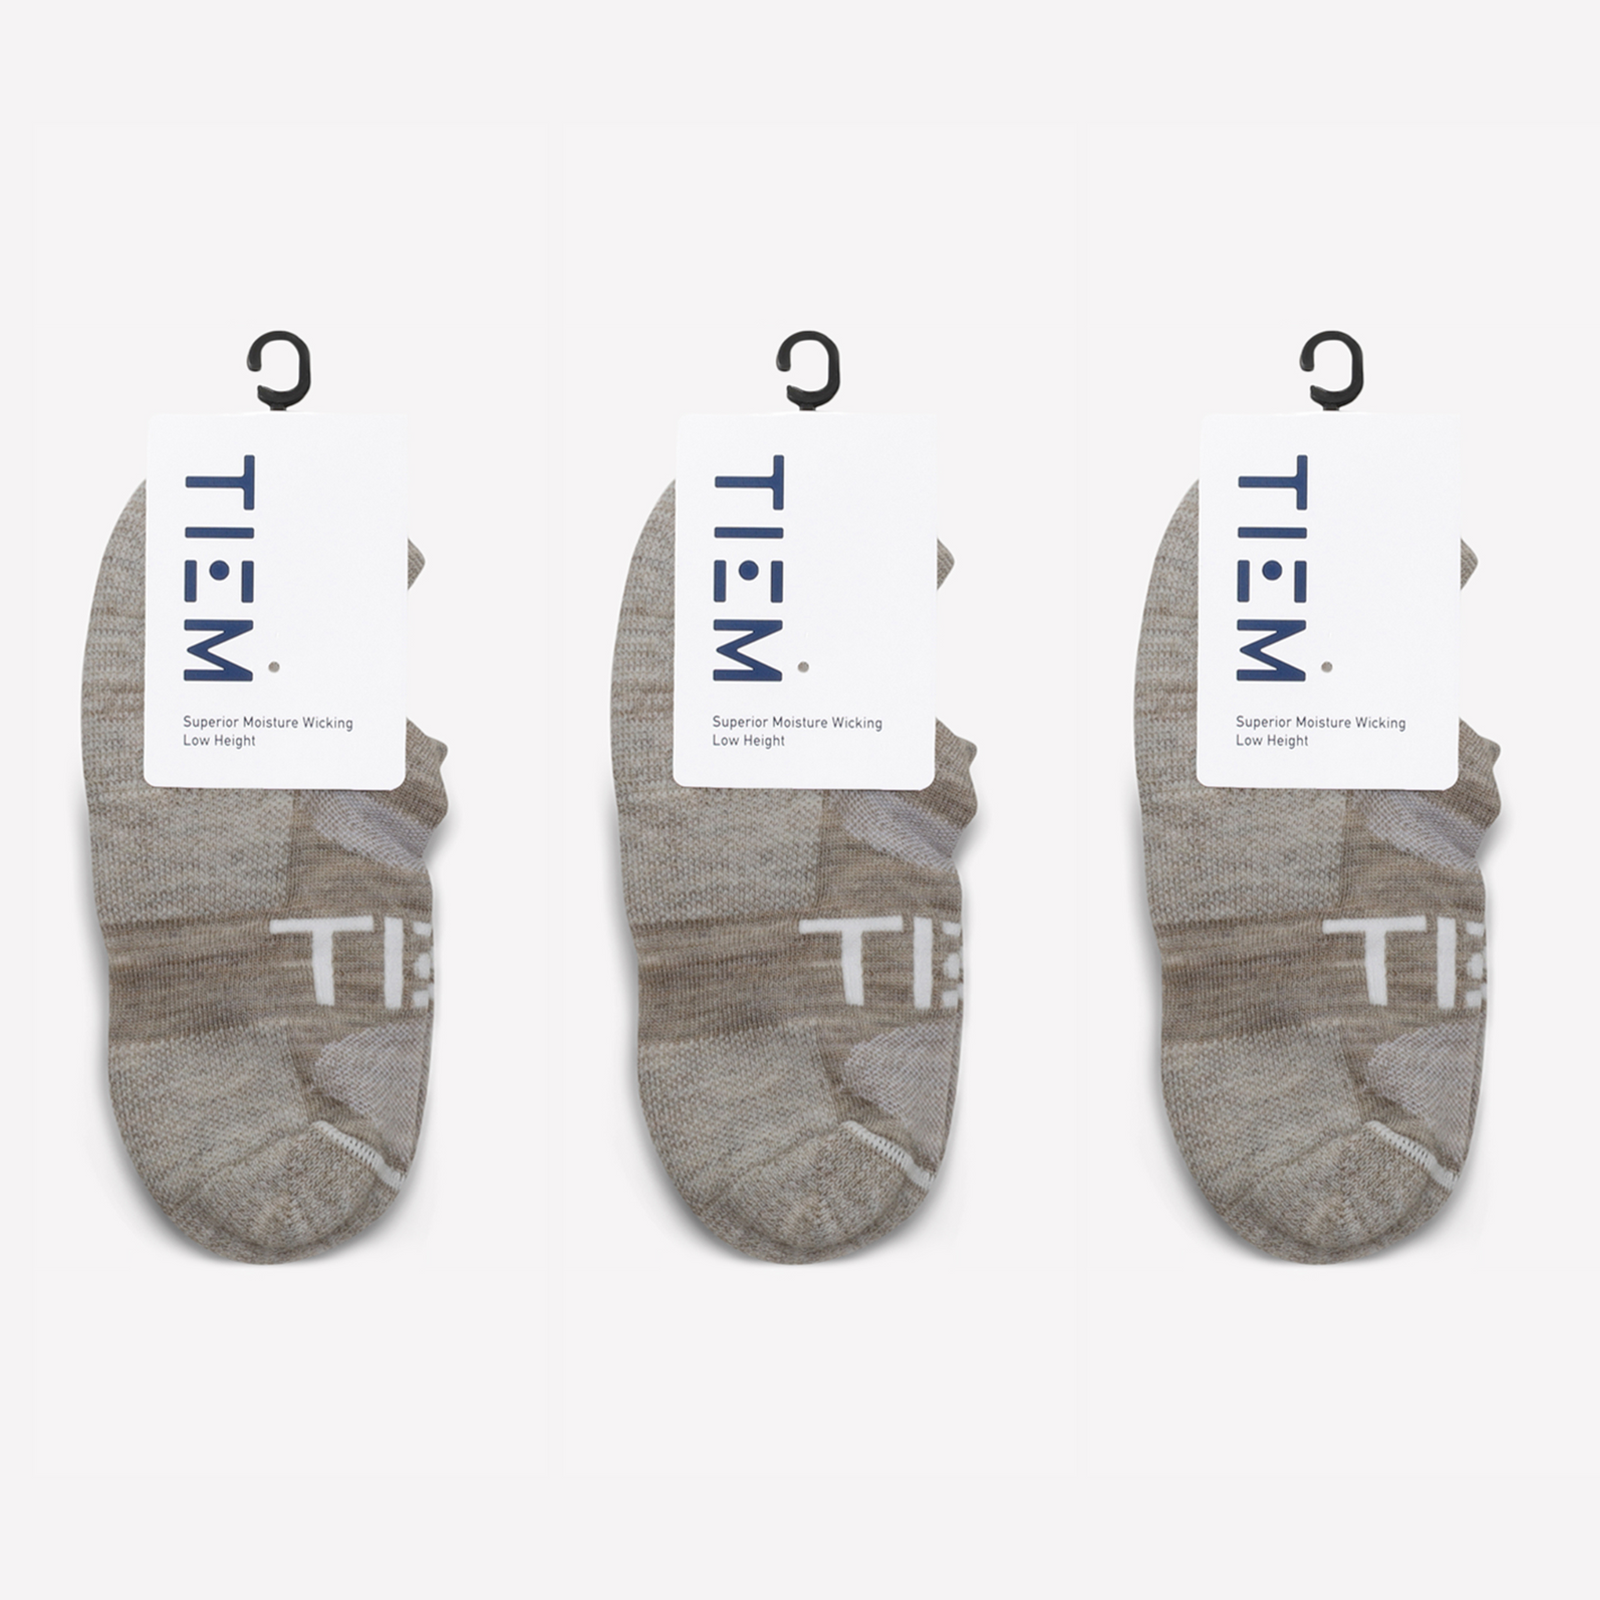

From hand-dyed crews to performance wool no-shows, our socks have almost as many fans as our shoes
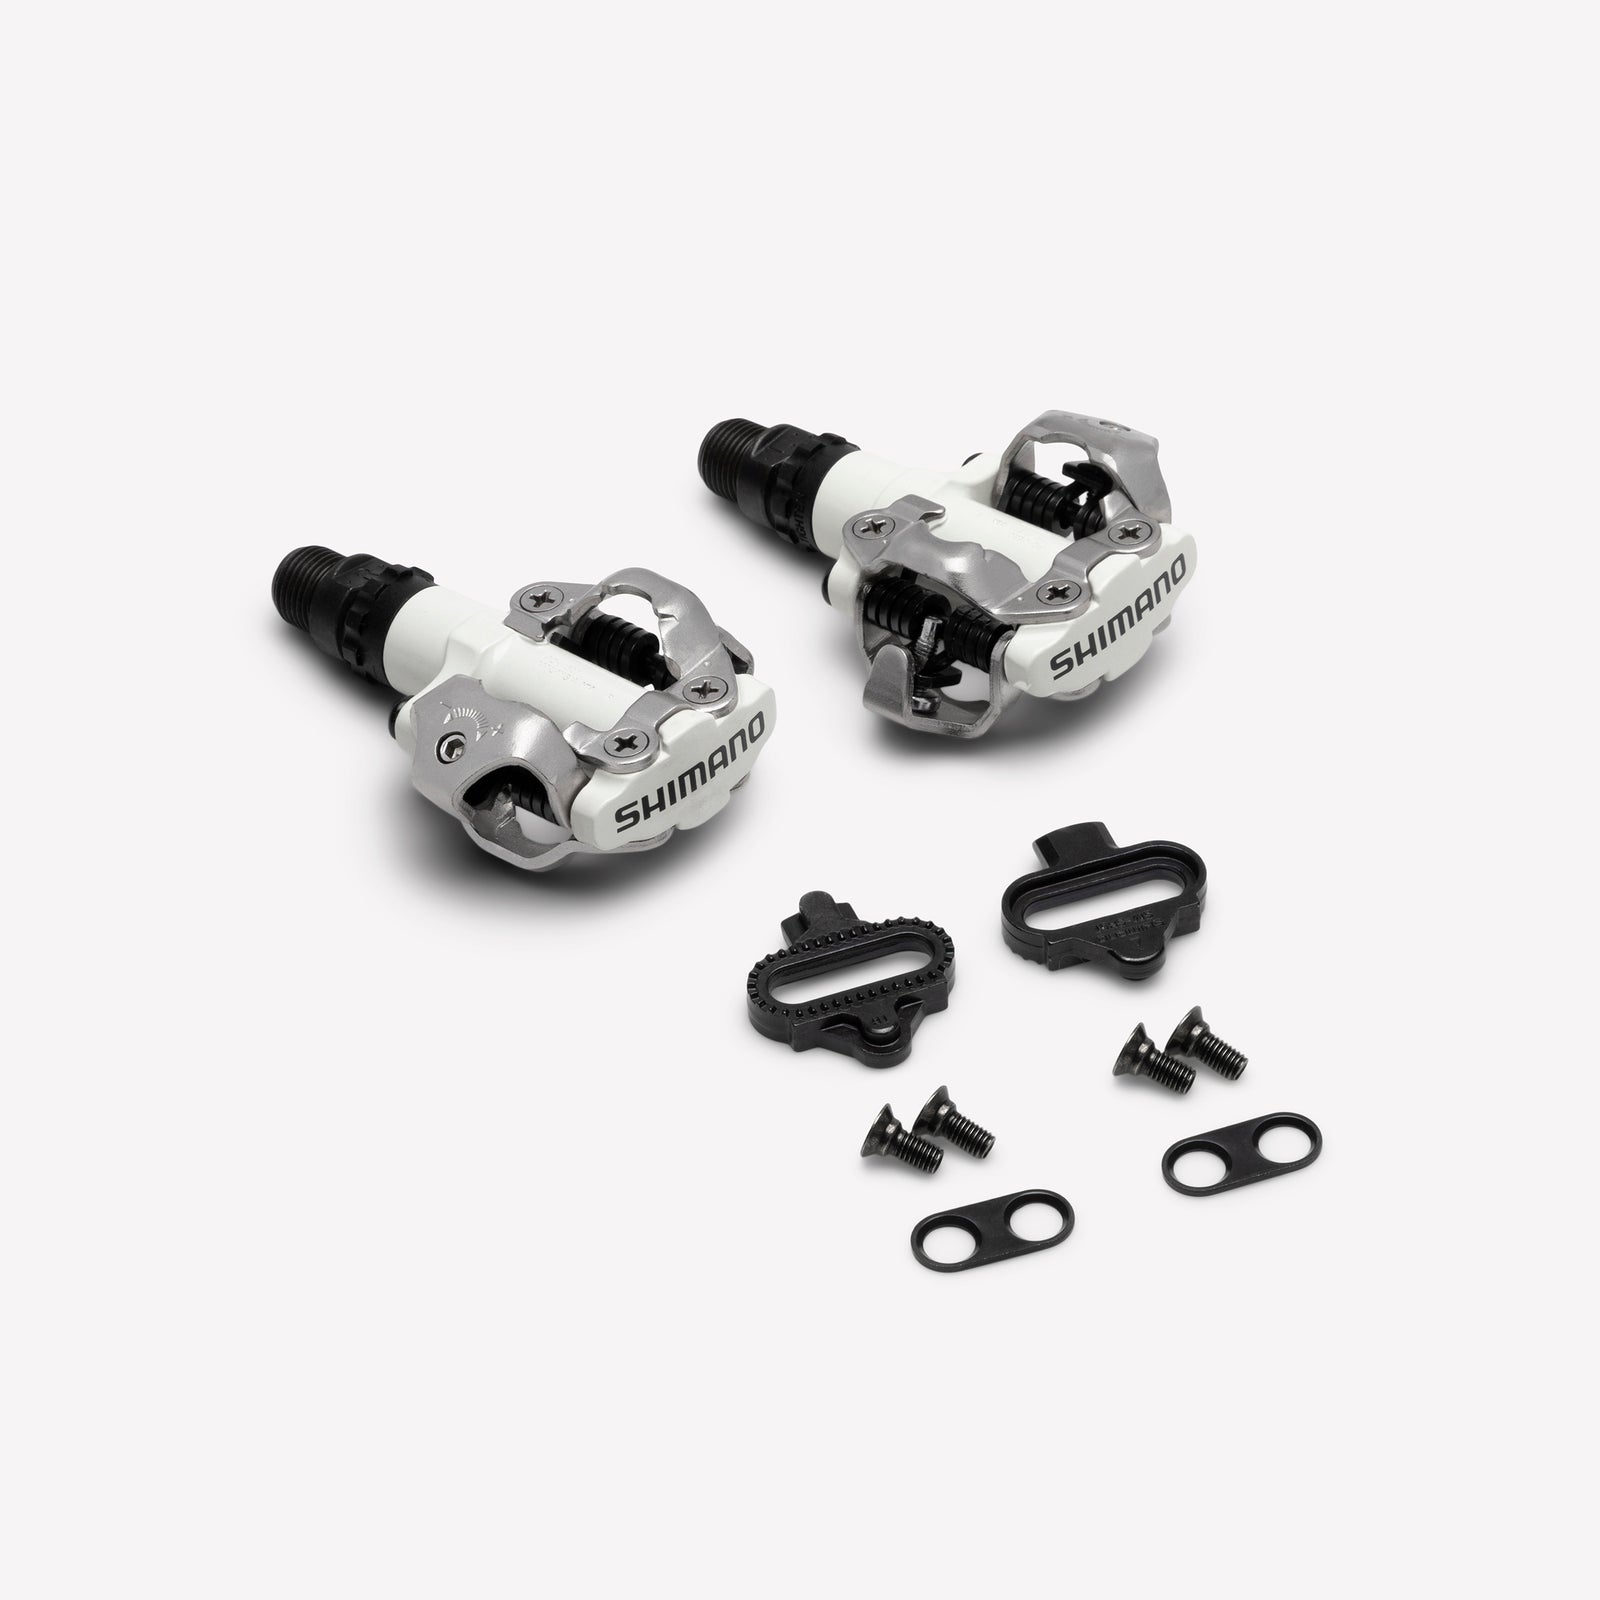

Grab what you need to make sure you can clip in at home or in the studio. Questions? Check out our FAQ or reach out!
Before jumping in to your new at-home studio experience, you're going to want to learn the ropes of adjusting your new bike to fit your measurements.
Let's be honest, spin classes are hard enough- there's no reason to make them more challenging by struggling through sprints and HIITs with poor form! Take an extra minute to walk through the following steps before hopping on the saddle.
THE SADDLE
- Let's start with the height of your saddle (what you sit on while riding). Standing next to the bike, adjust the height of the saddle to align with your hip bone.
- You'll also notice the saddle can move back and forth. Go ahead and hop on the bike as if you're about to ride. Hands on the handlebars and feet secure on the pedals, now level the pedals. Look down. Are your knees in front of your toes, are they behind your heel? If someone were to draw a straight line from your knee cap to the pedals- you want that line to hit right in the center of the pedal.
Okay, you're on the bike- hips & knees feeling good. Now it's time to protect the back and upper body. Lean forward and place your hands on the bars. Take a moment to pedal and see how this feels.
THE HANDLEBARS
- Let's focus on the position first. Like the saddle, you can adjust the handlebars back and forth. Place your hands on the handlebar at Position 1. General rule- you want your shoulders roughly in line with your elbows here.
- Handlebar height will be determined by experience and prior injuries/soreness. You will see most experienced riders adjust the height to be in line with their saddle. If you have a history of back pain, it will be best to raise the handlebars to avoid aggravating past issues. If you're more of a beginner cyclist with no prior back injuries, start with the handlebars about 6 inches above your saddle height.
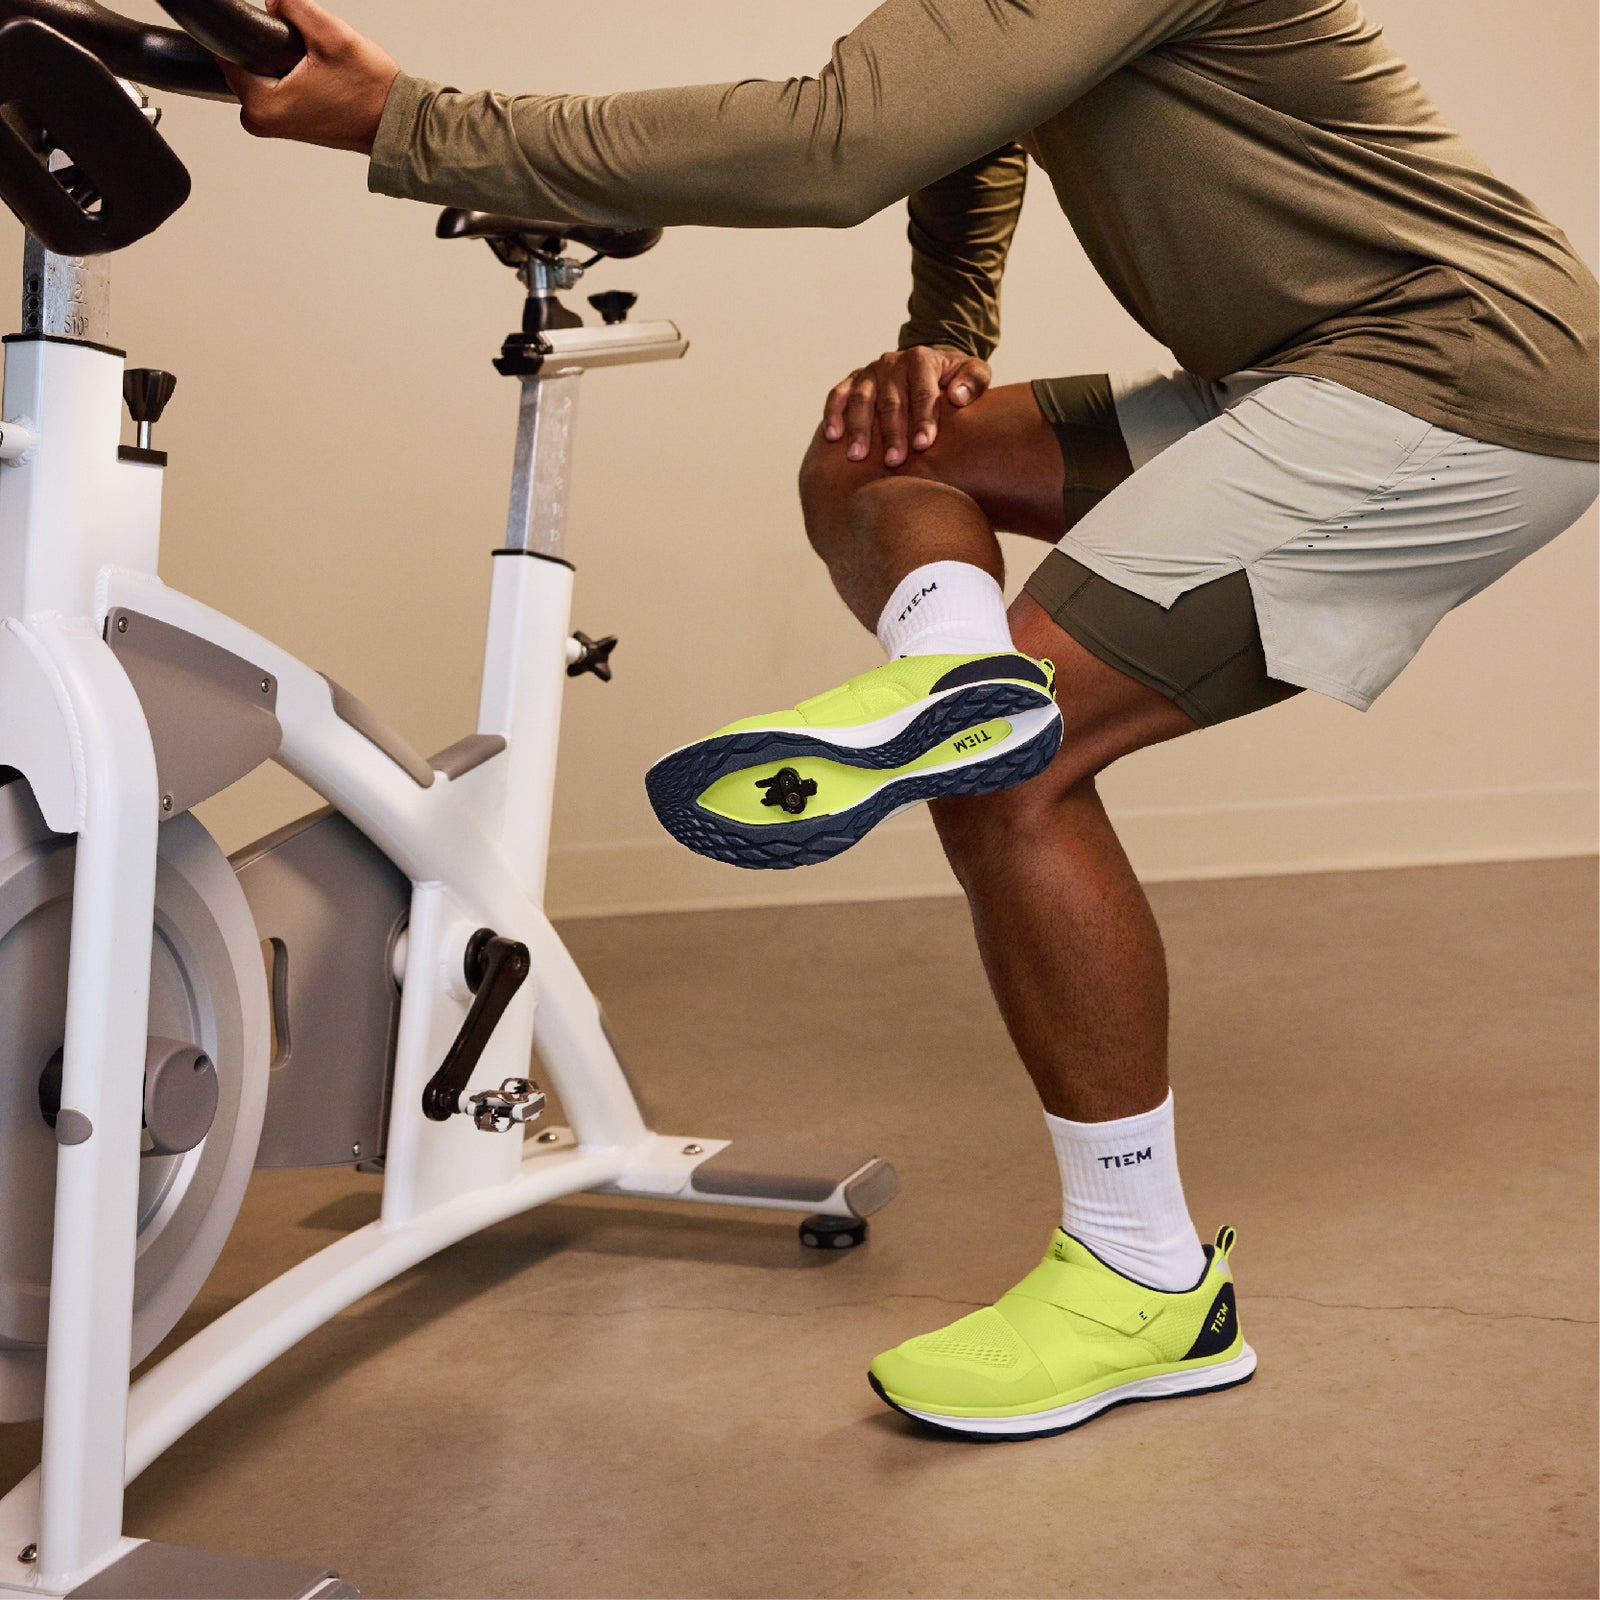
One more step 'til you're riding! Grab your slipstreams, install your SPD cleats, and let's finish this up.
CLIP IN
- You're all set up?! Nice!! Reach around the bike and tighten all instruments that were used to help adjust the different parts of the bike. Grab your Slipstreams and let's do this.
- Placing the ball of your foot onto the pedals, begin to pedal while pushing down with a medium-hard pressure. You will hear a "click" once the shoes attach to the pedal. To unclip, level your foot with the pedal and rotate it away from the bike.
As always, if you have any questions concerning your Slipstreams, SPD cleats, cleat installation, or clipping in, contact us and we would be happy to help!
Also in Form and Function

TIEM TAPS BACK 2023
Did you know that TIEM has been a proud parter to the Breast Cancer Research Foundation for the past 6 years?! This October, we're partnering with some of our favorite studios from across the country for a series of rides that will support life-saving breast cancer research. Read on to learn more!
Read More
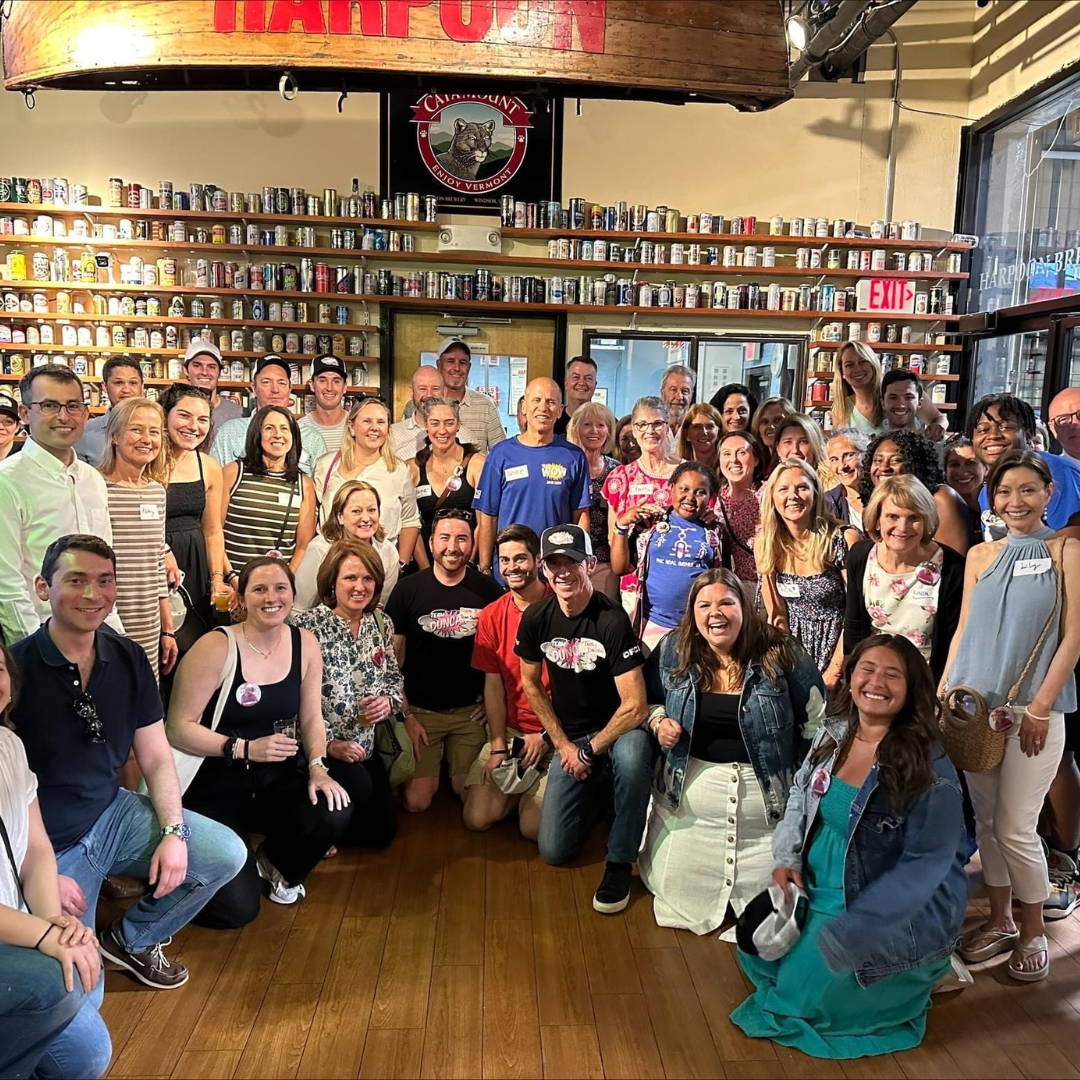

Stephanie's Story with Team Duncan
Most people think of July 4th as the official start of summer, but in the Boston area it also means time to start seriously training for the Pan Mass Challenge. The PMC is an epic two-day bike ride and fundraiser that brings thousands of people together to raise millions of dollars for cancer research at Dana Farber.
Read More


Taps Back for IWD Studio Spotlights
On March 8th, 2023 several indoor cycling studios across the nation hosted fundraising rides to support various non-profits of their choice focused on women’s equity and empowerment. Today, we're proud to feature two of these studio owners to hear more about their stories as a female entrepreneur!
Read More